Raw Food Recipes:
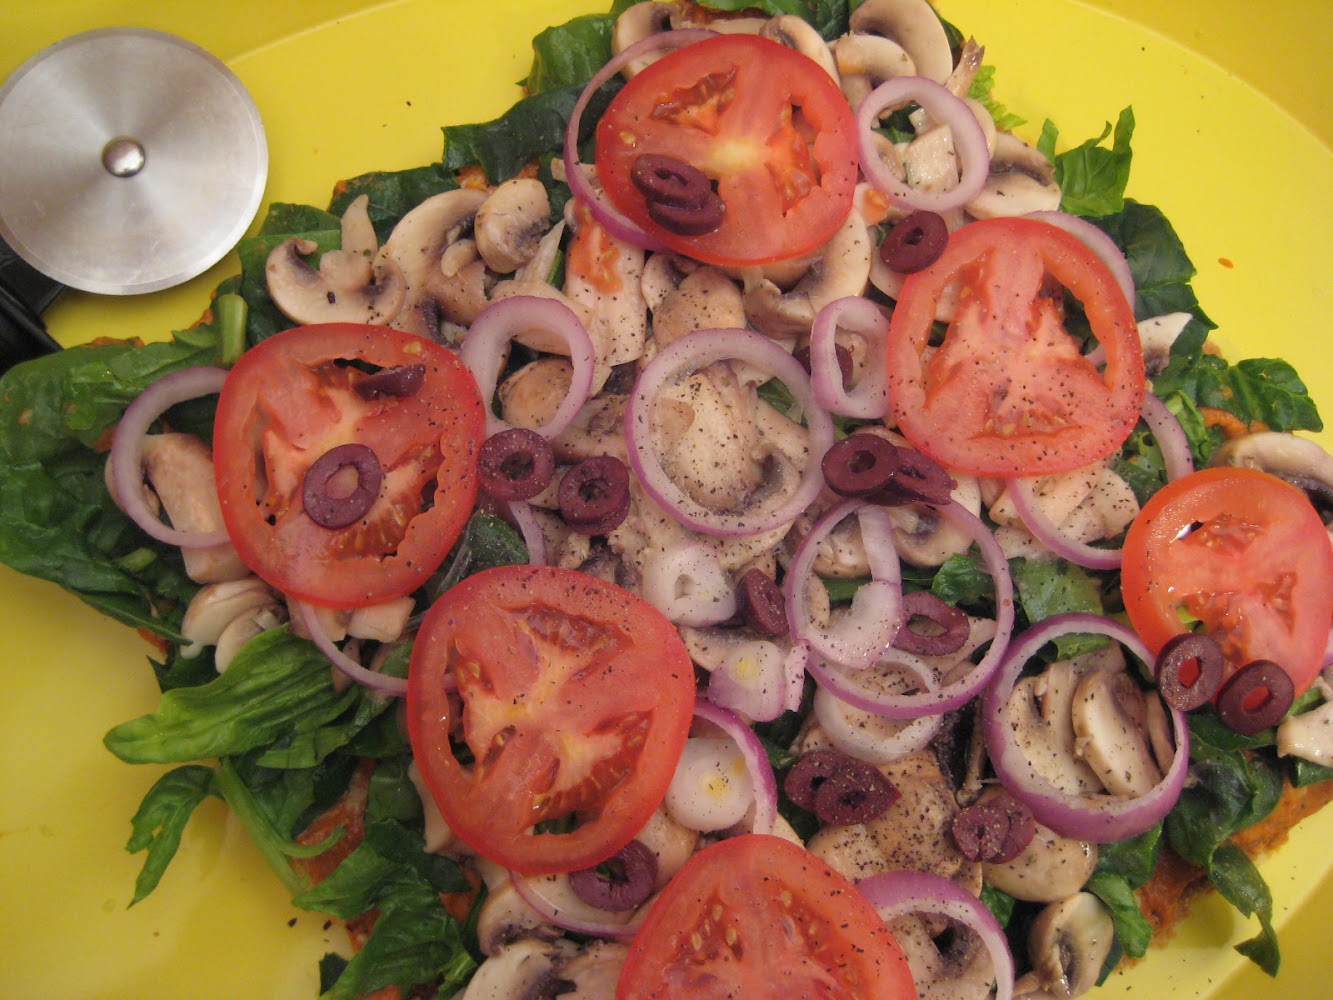
pizza
The Daily Raw Blog Recipe Challenge

Stocking your Raw Kitchen — The Equipment
Recipe #2 of the Complete Book of Raw Food Endeavor

RAW NEWS YOU CAN USE

National Pizza with the Works Day
Essene the grain....
National Mushroom Day

Jalapeno Slider*

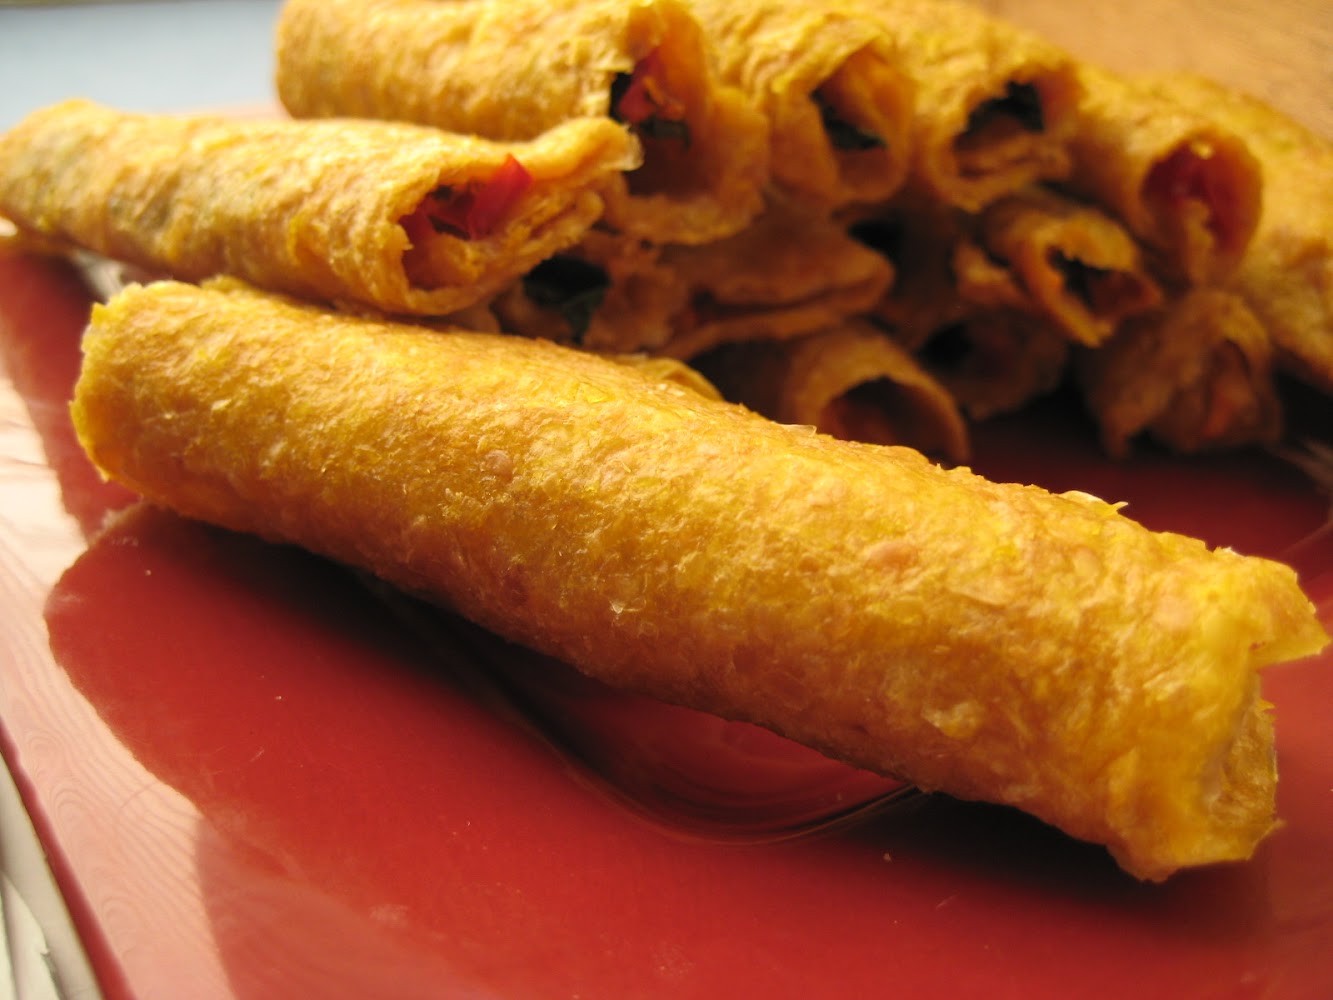
Spicy Spinach and Pepper Taquitos
Day 226

Healthy Living: Day 191

Greek Portobello Pizza
.jpg)
Healthy Living: Day 185

On This Date
.jpg)
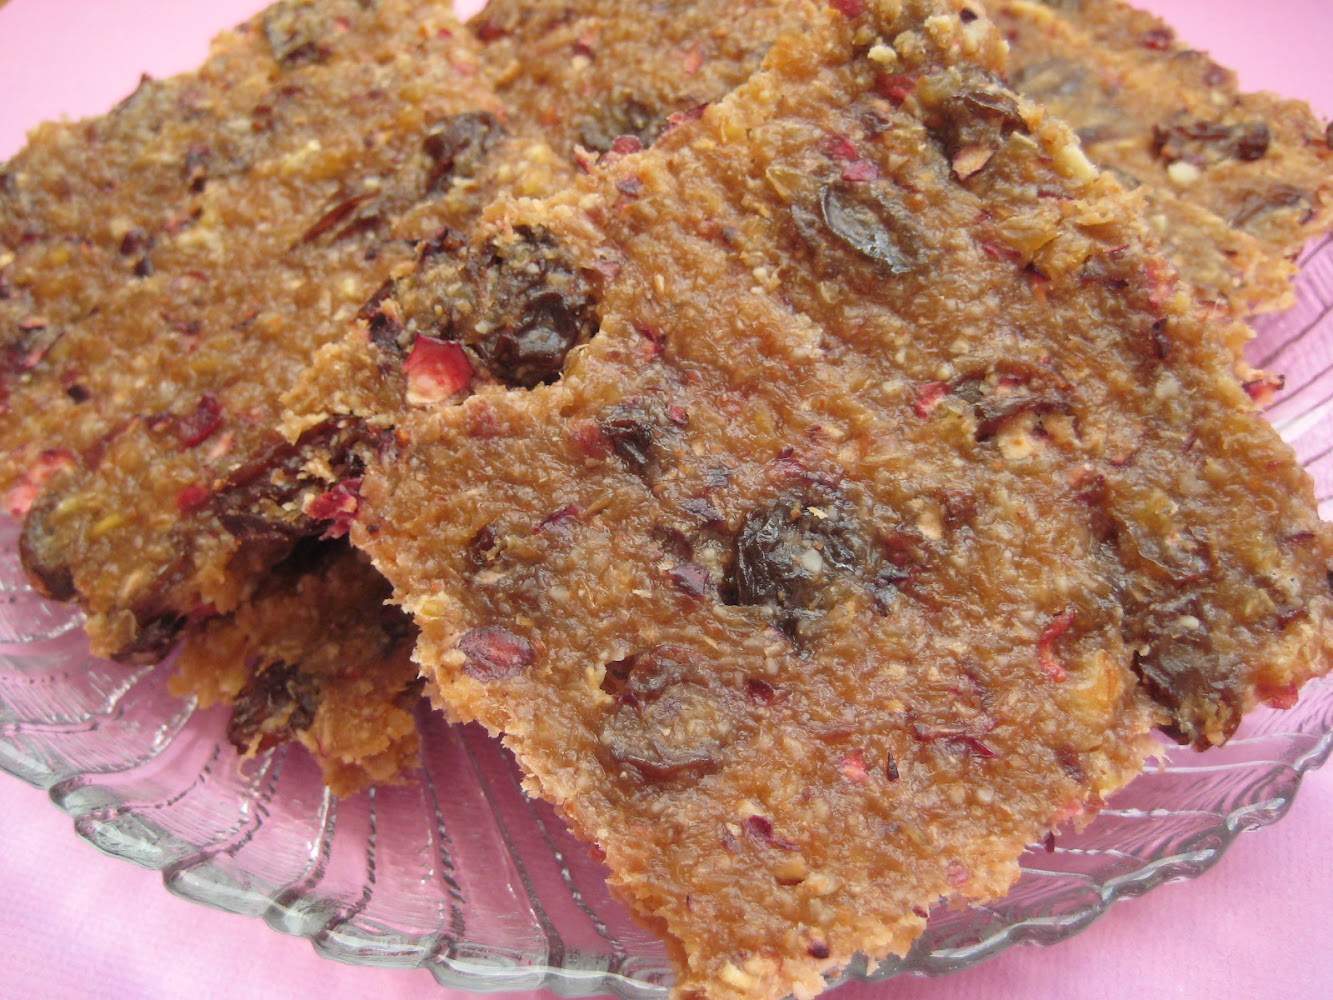
Sun-dried tomato bread (18 servings)

Crepes, Ani Phyo and the Jolly Red Giant

143 Days of Raw Foods

Day 135 of My Year of Living Foods

Day 132 of Raw Foods

Day 131 of Raw Foods
